Props are a vital part of most food photography. They can help you add interest and story to your scene, but they can also help you add depth. To that end, here are a few tips to help you use props to add depth to your images.
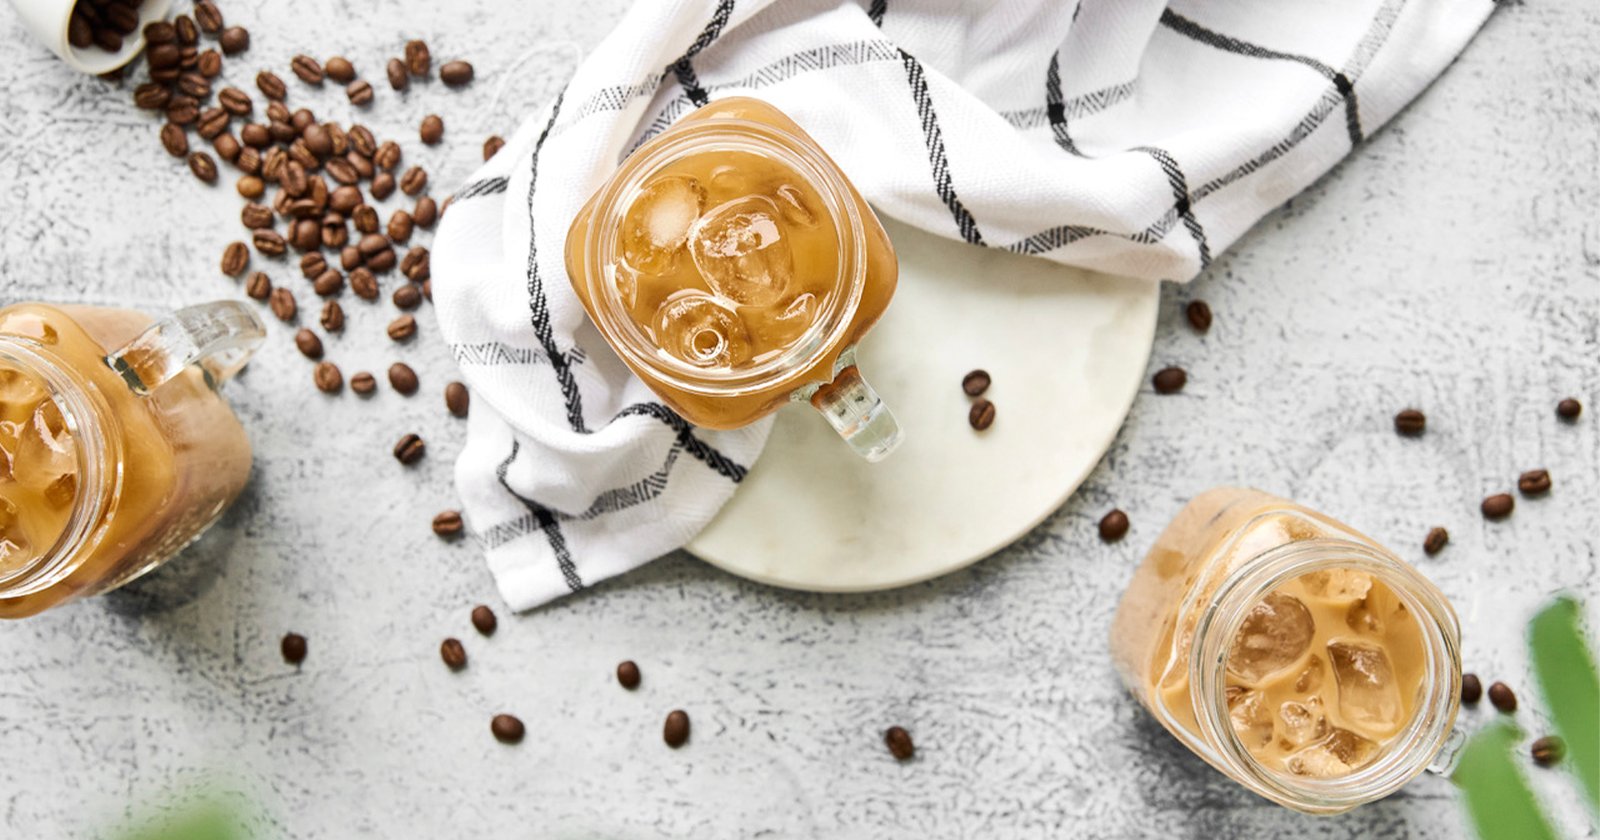
Firstly I am going to give a few tips for adding depth to a straight-on shot, but these will also work for a 25 to 45-degree angle shot as well. When planning my shoots, I mentally split the image into layers: you have the middle layer where our main subject will usually be, but then we have the foreground and background as well. If we leave these blank, it can leave the image feeling a little too two-dimensional.
There is nothing wrong with having the subject and only that, but to add some depth to the image we need to add props into the background and foreground. This will give the image those layers. It doesn’t have to be anything substantial — sometimes the simplest props work the best. For the foreground, I recommend something that helps draw your eye into the image. For this particular scene, I added a small pot with coffee beans and linen coming from in from the front side to help frame the subject. For the background, you can get away with the higher, bigger props. This also helps add some height to the image.
Another way to add depth is to wide-open apertures, somewhere between f/2 and f/4 works great to create some lovely soft bokeh. Also, increase the distance between your subject and props that are in the foreground and background — this will help throw them out of focus. Having your foreground and background props out of focus helps create a dreamy scene and adding to the depth in your image.
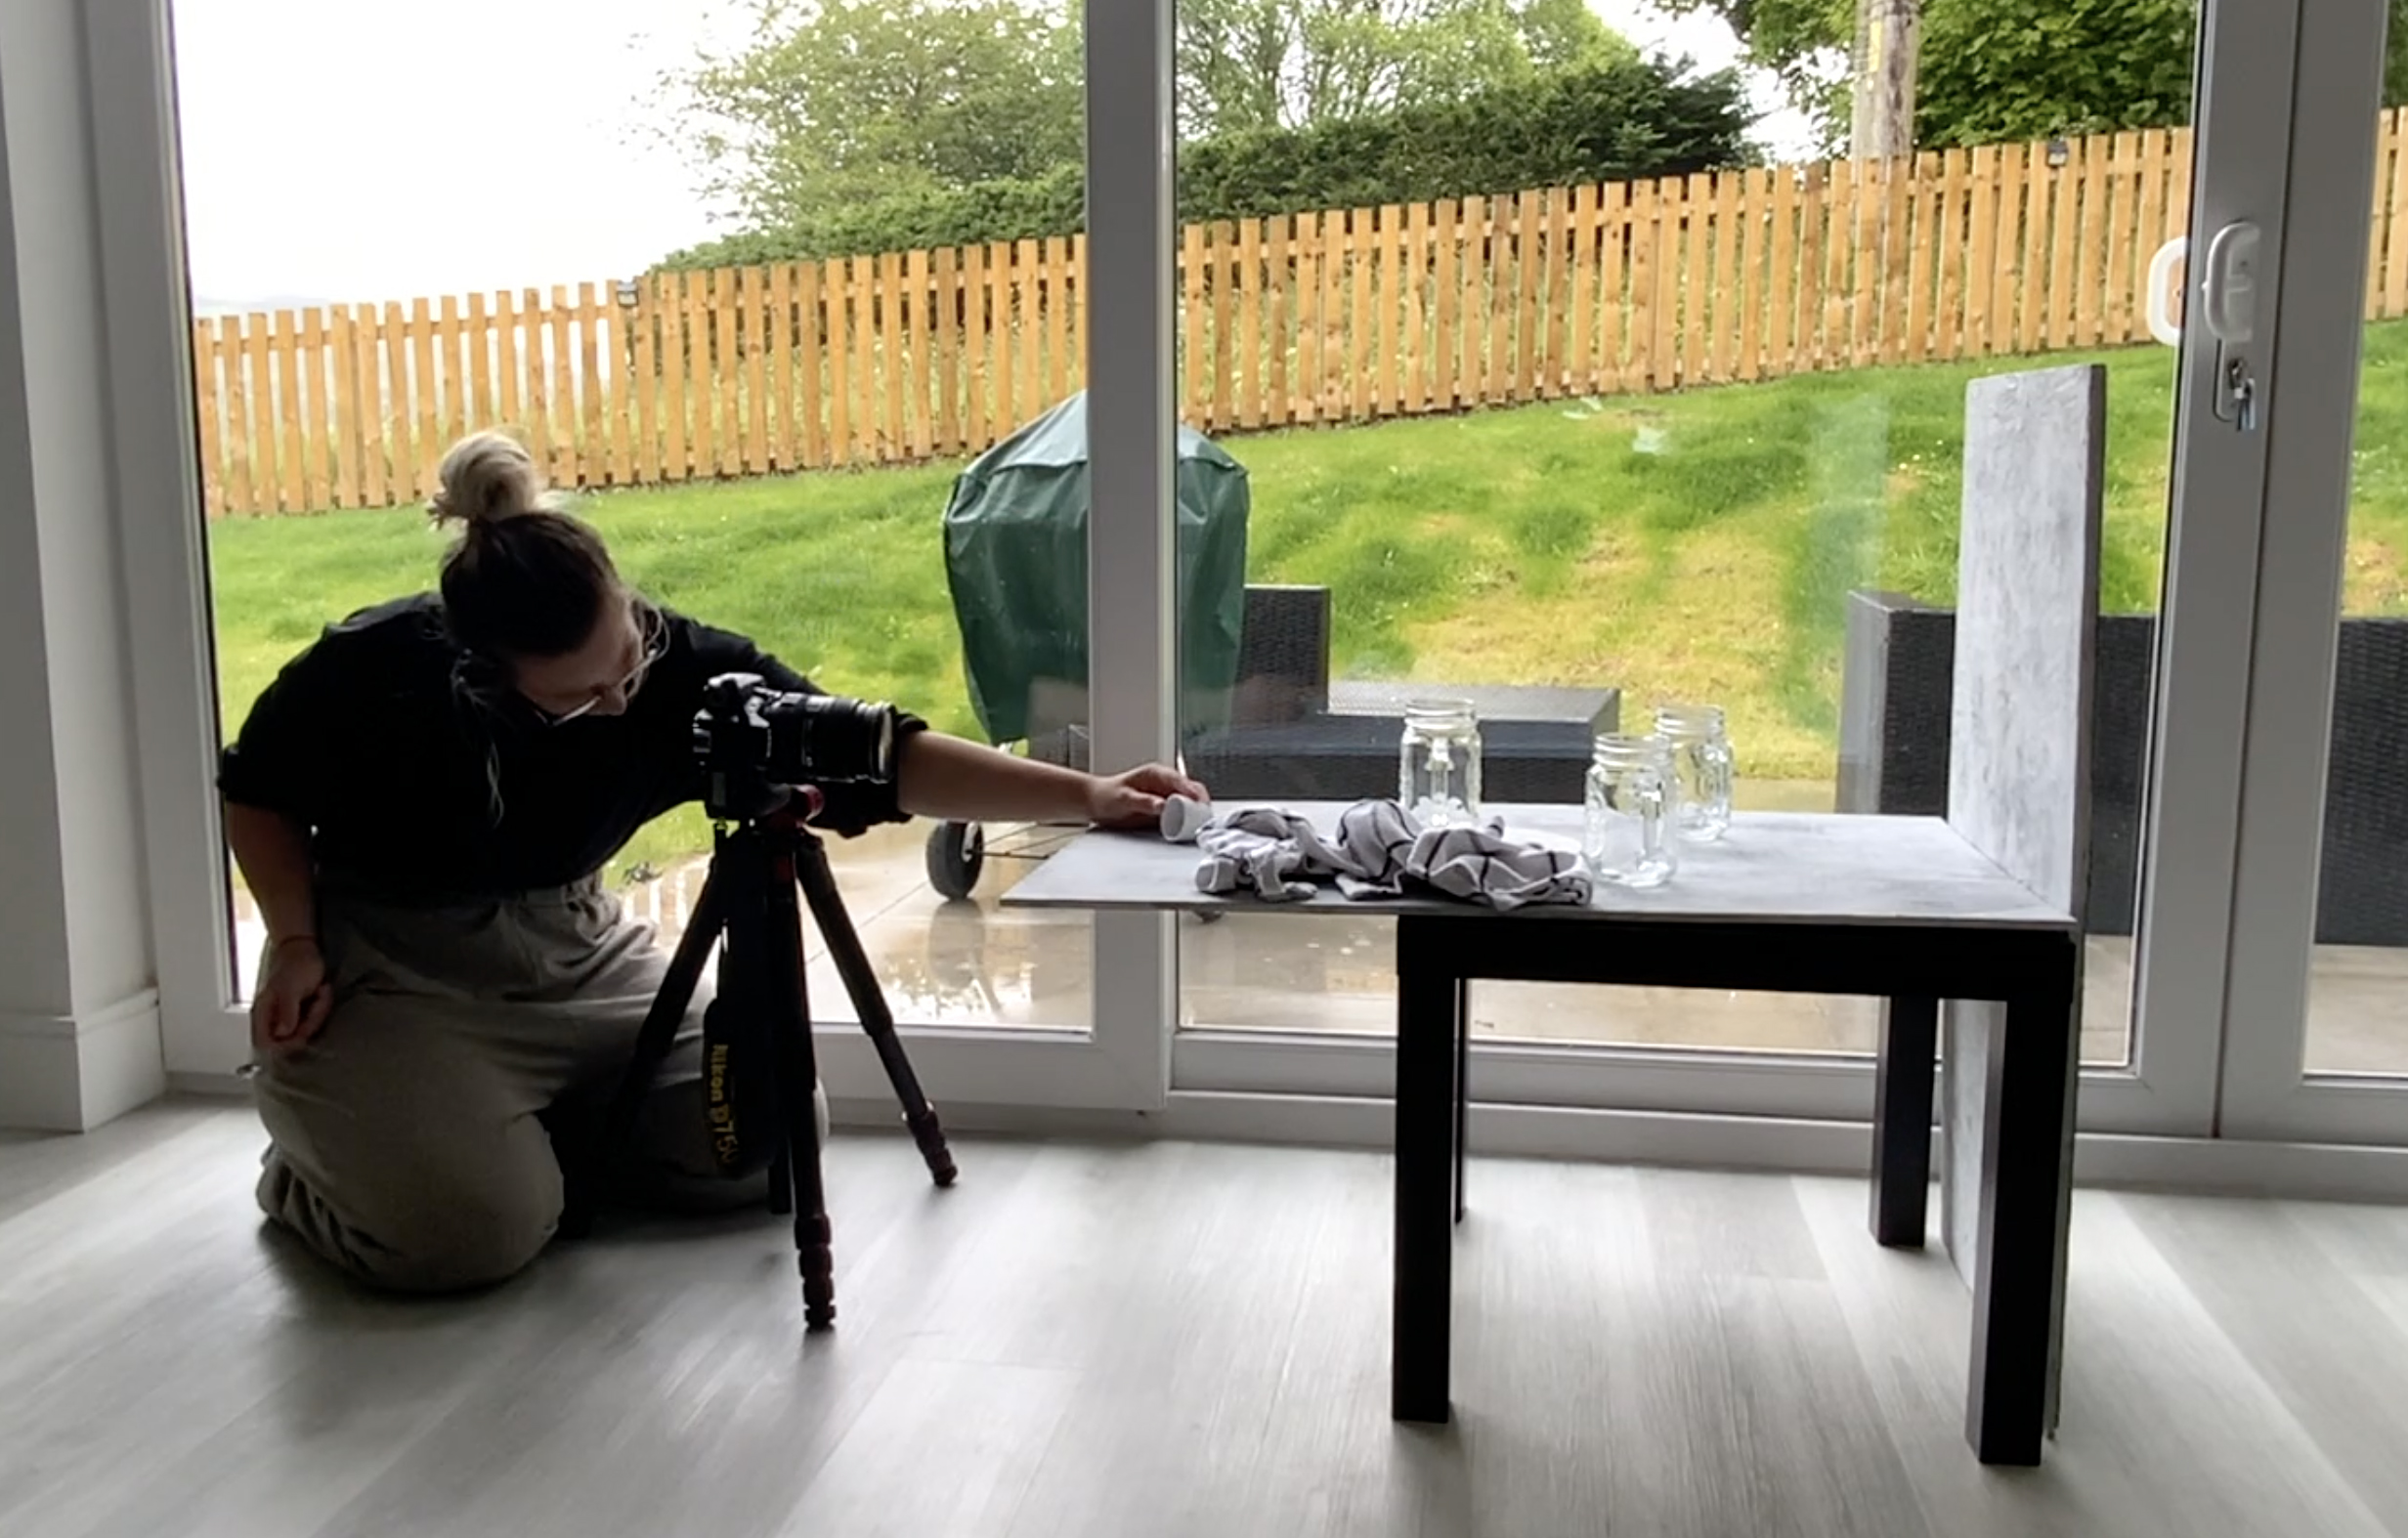
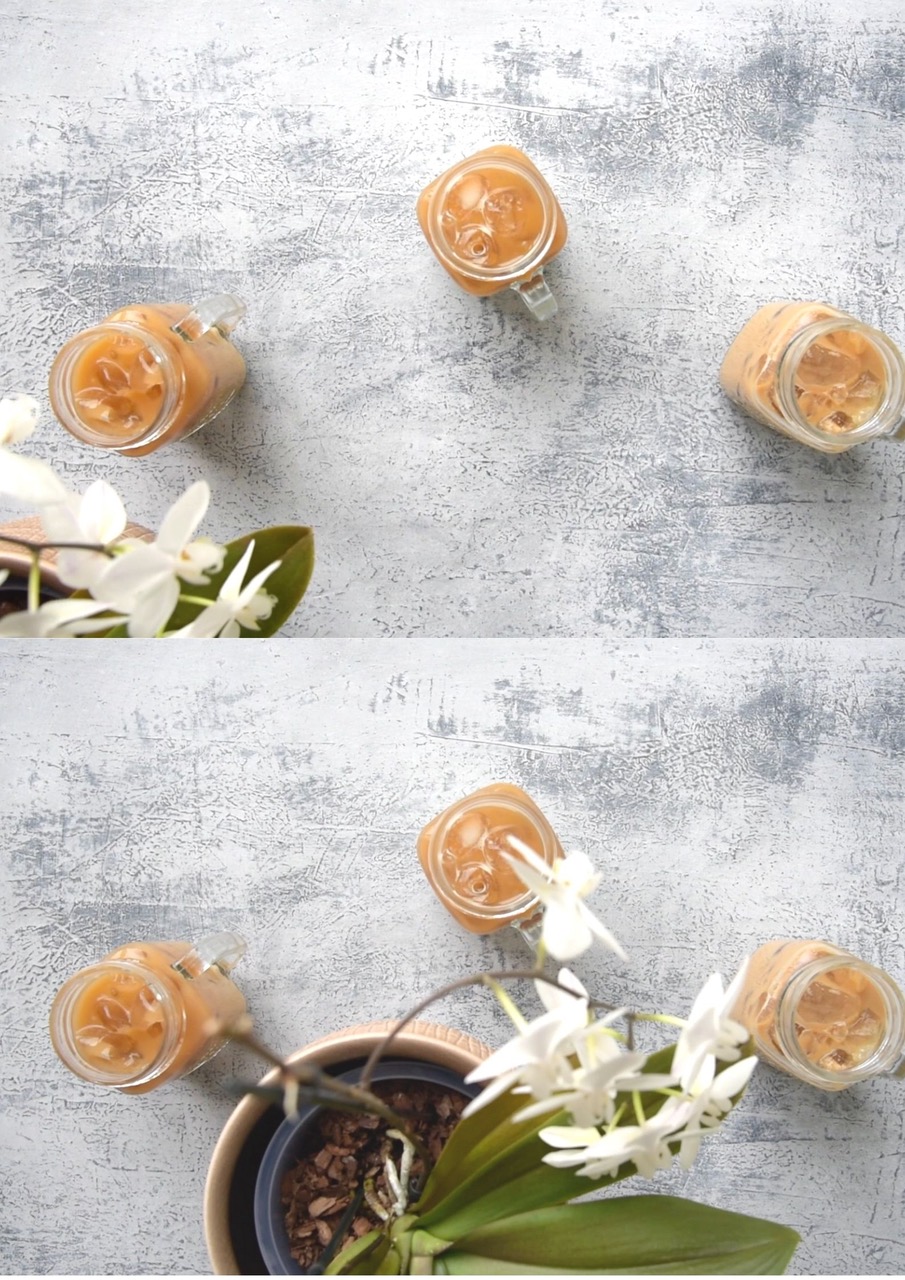
Now for adding depth to your flat lays. This can be a bit trickier because, well, it’s in the name: They’re flat lays, which makes adding depth to an intrinsically flat visual even more challenging. But it can be done: with some taller props, we can add to our foreground.
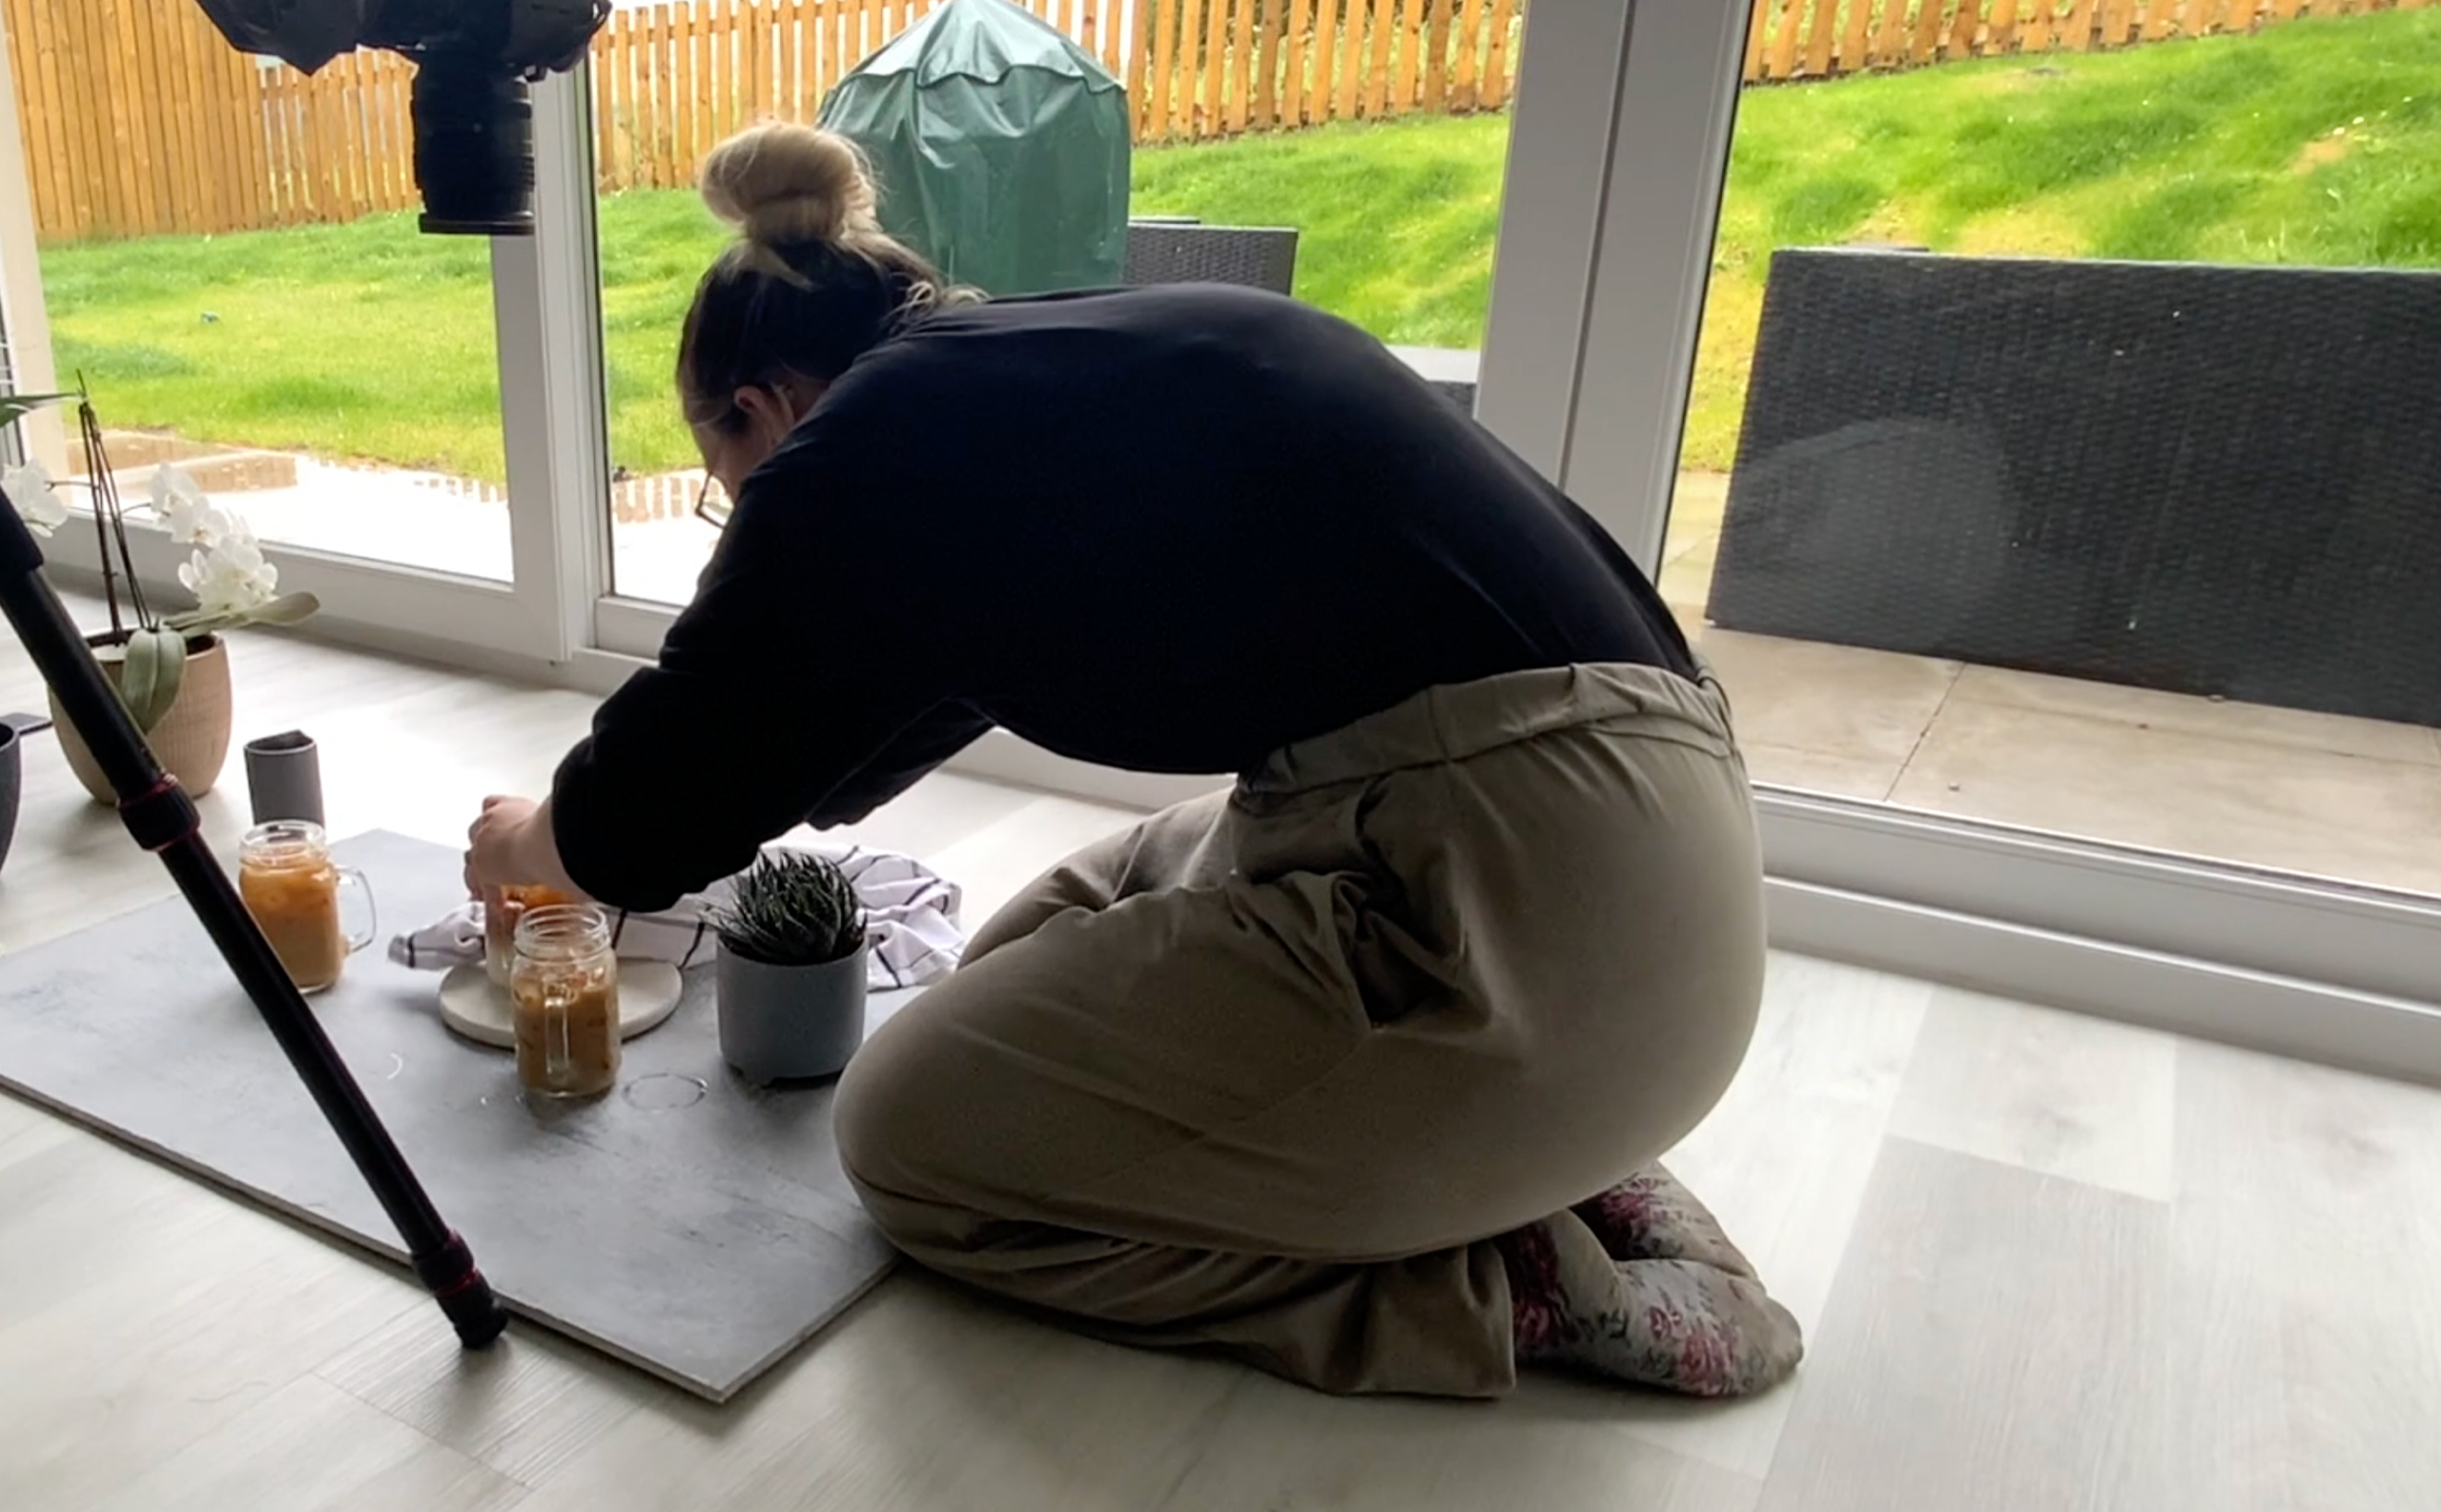
One thing that is becoming more popular is having some tall plants in the scene. These are a great way to add some foreground to our flat lays, and they also add some interesting shapes into a scene and can really draw your eye in. Just remember with the taller props, keep them to the side because in the middle they are going to take over a scene.
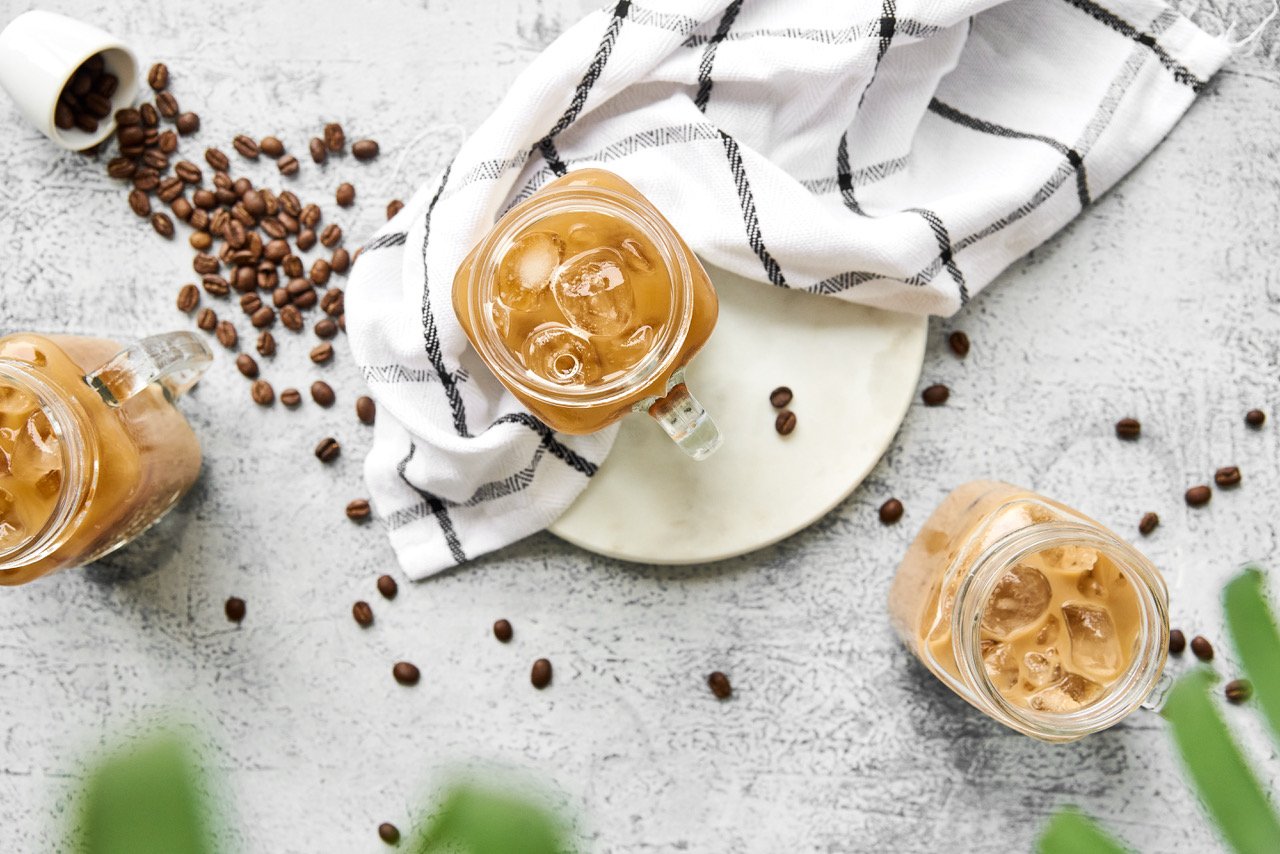
For the background layers, lift your subject up and place something under your subject. Chopping boards, plates, boxes, and linens are just a few of the great props we can use to add some background to our flat lays. Just one to two of these can really improve your flat lay photos.
These points aren’t rules as there’s no right or wrong with food photography, but rather they are just a few things I think about when creating my images and I think they will be useful for anyone looking to create great food photography.
In the video above, I also give a few tips on how to make sure you don’t go overboard. Because props are important but they’re not more important than the food itself. For more videos on food photography, check out my YouTube channel!
About the author: Amie Prescott is a professional photographer, and food photography combines two of her favorite things: food and photography. Prescott put a good spin on lockdown by using the bad situation to create YouTube videos in an effort to help people looking to learn food photography.

![WordPress Coupon Code 2024 [64% OFF Code ????] Live](https://bloggerspassion.com/wp-content/uploads/2024/04/wordpress-coupon-code.jpg)

:max_bytes(150000):strip_icc()/LilyRoseDeppSocial-cadefd7aed6c4d14b8cd9c0d2cd33f00.jpg)
