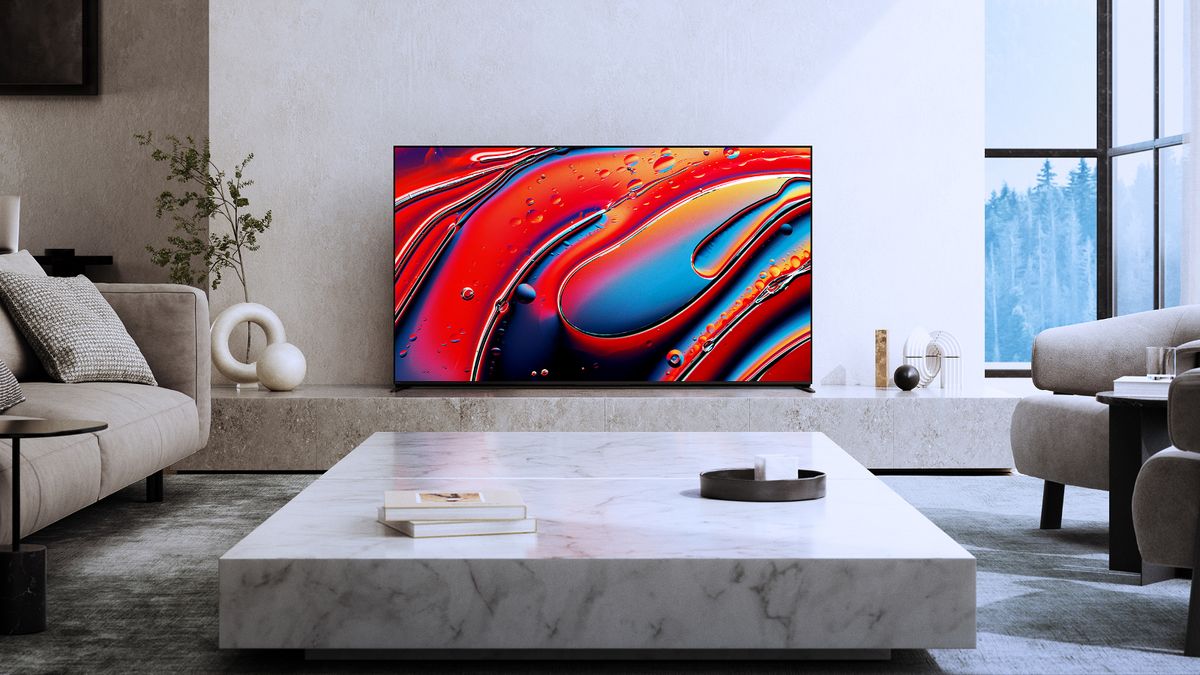
Are you having trouble connecting your Apple device to an external display? If you’re not using an Apple monitor, connecting to an external display can be confusing.
While hooking up an additional display has never been an issue for Windows PC users, this hasn’t always been the case for Apple device users. While a few years ago it was a huge hassle to connect a different monitor to your Mac or other Apple device, now it is much easier.
Whether you’re an event professional looking to connect your MacBook to a projector or video wall, or if you’re working in an office and want to use dual monitors, the goal of this article is to show you how to connect an Apple device to any display.
Connecting to a non-Apple display
While the easiest way to connect a non-Apple monitor to your Mac is by using an HDMI cable, most Apple devices don’t come equipped with HDMI ports. So if your Mac has an HDMI port, you can stop here – all you have to do is plug in, play, and follow the instructions on your Apple device.
However, if you’re using one of the latest Apple devices like an iMac, MacBook, Mac Mini, or another device, you’ll have trouble trying to connect with a standard HDMI port. That’s because most current Apple devices feature Thunderbolt 2 or 3 ports along with a couple of USB ports.
The easiest way to connect a non-Apple monitor to an Apple device that doesn’t have an HDMI port is to use an adapter that converts HDMI to Mini DisplayPort or Thunderbolt, depending on your machine. Of course, this only applies to monitors and external displays that have an HDMI connection.
Are you trying to connect your Apple device to an older display that only uses VGA or DVI? In this case, you’ll want to get a Mini DisplayPort (or Thunderbolt) to DVI or VGA adapter.
Since using all of these adapters can get confusing, keep in mind there are other options. You can also use adapters that rely on USB-C ports and are compatible with most devices. In this case, you’ll want to purchase a USB-C Digital AV Multiport Adapter since it can handle connections with HDMI, USB-A, and USB-C devices. There are also similar adapters that work with VGA instead of HDMI if you’re using old equipment.
Setting up your external display
Once you’ve decided upon the right adapter and cables, you can start setting up external displays on your Apple device.
The default settings put your external display on the right side of your main display. If you want to extend your display instead of mirroring it, go to the settings and options menu.
- First, go to the System Preferences… option represented by a grey icon with gears in the top-left section of your screen.
- Next, click on the first icon in the second row which is titled Displays and has a monitor icon.
- After that, click on the button that says Gather Windows. When you click this button, your main screen will show you icons for both monitors that are now connected to your system.
- Next, go to Display Preferences and select Arrangement. Now you’ll be able to freely move the icons around so you can determine where you want your monitors to be configured.
- (Optional) If you want your second monitor to be the main display, drag the white bar (menu bar) from the first monitor image to the second one. The main monitor is the display where all of your windows open.
- (Optional) You can also select Mirrors Display to duplicate your main screen onto your second display.
Connecting to an Apple Display
You would think connecting Apple devices to an Apple display would be simple, right? This is only the case if both your device and external display feature the same ports. Since Apple likes to change ports every few years, there is still a chance you’ll need an adapter.
First, locate your Thunderbolt Port or Mini DisplayPort on your Apple device. Depending on the version of your machine, you’ll either have multiple Thunderbolt ports, a Mini DisplayPort, or a USB port.
If you run into a mismatch with different versions of Thunderbolt ports, you’ll have to buy a third-party adapter. Keep in mind that Apple’s official adapters don’t support Mini DisplayPorts.
After you’ve located the ports and your adapter, take the cable from your second display and plug it into the appropriate port. Once it’s connected, and both devices are on, your Apple device should immediately recognize the external display.
If none of these options work for your Apple device, you’ll have to use the steps above to connect your monitor just like any other non-Apple display.
External display rentals for Events, Offices, and more!
Now that you know how to connect your Apple device to an external display, now you just need to decide on which external display you should rent!
Are you looking for an external display that you only need temporarily? Display rentals are a great option for impressing audiences at an event or improving productivity in the workplace.
Whether you’re looking for a video wall, projector with a screen, big screen TV, or just an additional monitor, Rentacomputer.com can provide you with everything you need!
Starting the rental process is as easy as submitting a quote. Just give us a brief description of what you are trying to accomplish and an experienced technology rental associate will get back to you right away!
 Our agents coordinate all the logistics of delivery and installation and can have techs on call to troubleshoot and fix any problems that may arise with your rental technology. Our account manager, Randy Moore, specializes in exhibitor rentals like displays, kiosks, event engagement rentals, laptops, tablets, smartphones, internet hotspots, accessory rentals, and much more. Randy will gladly handle any questions you may have in regard to rentals to make your event exhibition easier. Contact Randy today at 1-800-736-8772 ext. 225 or fill out a fast, easy online quote form today.
Visit our PC & AV Rental Pricing Factors page to find out about our pricing estimates.
Subscribe to our blog today to stay up-to-date with Rentacomputer.com and follow us on social media. Join the discussion by commenting below.


